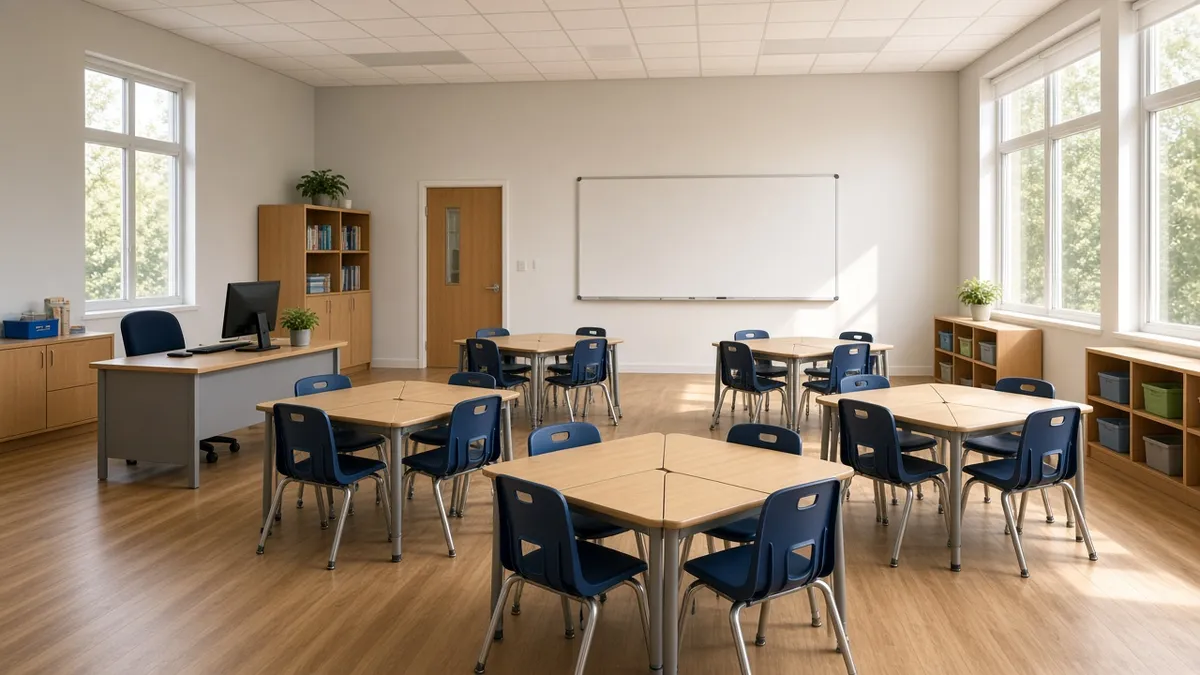
Seating chart ideas are worth a few minutes of thought, because where students sit shapes how they talk, focus and work together. Below are 12 classroom layouts, from simple rows to pods and stations, with what each one is best for, how to decide who sits where, when to change seats, and how to put the chart on your classroom screen so students find their spot in seconds.
There is no single best seating arrangement. The right one depends on your grade, your room, your furniture and what kind of lesson you teach most. Many teachers keep two or three layouts and switch between them. Start with your most common lesson type and build from there.
Before you choose a layout
Ask yourself four quick questions:
- What do I teach most? Direct instruction, discussion or group work?
- How much space do I have? Measure the walkways, not just the floor.
- Can every student see the screen? Sit in a few seats yourself and check.
- Can I reach every student? You should be able to walk to any desk in a few steps.
Also follow any seating that is listed in a student's support plan first, then build the rest of the chart around it.
12 classroom seating chart ideas
1. Traditional rows
Desks face the front in straight rows. Best for: tests, direct instruction and classes that need structure. Watch out for: less discussion, and back rows can drift.
2. Paired rows
Two desks side by side in each row. Best for: turn-and-talk and partner work while keeping a clear view of the board.
3. Pods or clusters of four
Four desks pushed together into a small table. Best for: group work, elementary classrooms and collaborative projects. Tip: turn pods so no student has their back fully to the screen. Our guide to making random groups helps you fill pods fairly.
4. Groups of six
Larger tables of six desks. Best for: project work with roles. Watch out for: more noise and more off-task chatter.
5. U-shape or horseshoe
Desks form a U facing the front. Best for: whole-class discussion, seminars and teacher demonstrations. Everyone can see everyone.
6. Double U
A smaller U inside a bigger one. Best for: discussion in larger classes when one U doesn't fit.
7. Socratic circle
An inner circle and an outer circle. Best for: fishbowl discussions where one group talks and the other observes.
8. Stadium or chevron
Rows angled toward the center, like a V. Best for: direct instruction with more eye contact than straight rows.
9. Combination
Rows in the middle with pods along the side. Best for: classes that switch between teaching and small-group work in one period.
10. Stations
Separate areas for different activities, with a small number of seats at each. Best for: centers, labs and rotations. Pair it with an on-screen timer so groups rotate on time.
11. Flexible seating
A mix of chairs, stools, floor cushions and standing desks, with students choosing a spot. Best for: older elementary and classes with clear routines. Watch out for: it needs rules about who sits where and when.
12. Testing layout
Spread-out single desks facing the same way. Best for: quizzes and assessments. Keep a saved version you can switch to quickly.
Seating arrangements at a glance
| Layout | Discussion | Focus | Group work | Space needed |
|---|---|---|---|---|
| Traditional rows | Low | High | Low | Low |
| Paired rows | Medium | High | Medium | Low |
| Pods of four | High | Medium | High | Medium |
| Groups of six | High | Low | High | Medium |
| U-shape | High | Medium | Low | High |
| Socratic circle | High | Medium | Low | High |
| Stadium | Medium | High | Low | Medium |
| Combination | Medium | Medium | Medium | Medium |
| Stations | Medium | Medium | High | High |
| Flexible seating | Medium | Varies | Medium | Medium |
Seating chart ideas by grade level
- Kindergarten to 2nd grade: pods or tables, plus a rug area for whole-group lessons. Young students do a lot of their learning on the carpet, so desks can be grouped for centers.
- 3rd to 5th grade: pods of four most of the time, with paired rows for tests and focused lessons. This age group handles a layout change well if you practice it.
- Middle school: paired rows or a combination layout often work best, with a U-shape for discussion days. Seat changes every few weeks help with social dynamics.
- High school: a U-shape or stadium for discussion-heavy subjects, rows or pairs for lecture-heavy ones, and pods for labs and projects.
Seating ideas for small or odd-shaped rooms
Not every classroom is a neat rectangle. A few fixes for tight spaces:
- Use paired rows instead of pods. They need less floor space and keep walkways open.
- Push pods against walls. A pod of three against a wall saves a full walkway.
- Make the U shallow. A wide, shallow U fits better than a deep one in a short room.
- Move the teacher desk. A corner desk frees up the front of the room.
- Keep one clear path to the door. Plan it first and fit desks around it.
How to introduce a new seating chart
Seat changes go smoother with a short routine:
- Put the new chart on the class screen before students arrive.
- Start a two-minute timer and have students find their seats.
- Give the new groups a one-minute "get to know your neighbors" question.
- Remind the class when the next change will happen, so nobody feels stuck.
Ask students to bring everything from their old desk in one trip, so the change takes minutes rather than half a lesson. Keeping the routine the same every time makes seat changes feel normal rather than personal.
How to decide who sits where
Layouts are half the job. The other half is the names. A few strategies teachers use:
- Start alphabetical. On day one, alphabetical seating helps you learn names fast.
- Mix strengths. In pods, place a confident student, a developing student and two in between.
- Separate frequent talkers. Gently, without announcing why.
- Place students who need support near you. Close to where you usually teach, not always at the very front.
- Consider sightlines. Taller students to the sides or back, students who need a clear view near the screen.
- Use random seats sometimes. A random name picker for seats feels fair and mixes friendship groups.
How often should you change the seating chart?
Many teachers change seats every four to six weeks, or at natural breaks like the end of a unit, after a holiday or when a new student joins. Changing too often makes routines hard to build; never changing can let problems settle in.
Good times to change seats:
- After the first few weeks, once you know the class
- At the start of a new unit that needs a different layout
- After a long break
- When a group is not working
How to make a seating chart quickly
- Sketch your room's desks as boxes. A simple grid on paper or a slide works.
- Place any students with required seating first.
- Add students who need to be near you or apart from each other.
- Fill the rest, mixing strengths in each group.
- Walk the room in your head: can you reach everyone? Can everyone see?
- Save it, then plan one alternate layout for tests or discussion.
Show the seating chart on your classroom screen
Projecting the chart is the fastest way to get students into new seats. On the MyClassScreen board:
- Add an image or text widget with the seating chart.
- Add a timer so the class knows how long they have to find their seat and settle.
- Use the name picker or group maker when you want random seats for a day.
- Save the layout so you can bring it back after a test day.
If you teach multiple sections, save one layout per class. For more ways to set up the screen, see our classroom management tools guide.
Common seating problems and fixes
| Problem | Fix |
|---|---|
| Too much talking in pods | Move to paired rows for a week, then try pods again |
| Students can't see the screen | Rotate pods so no one faces away; check from every seat |
| Walkways are blocked | Remove one pod or move to a U-shape |
| A group never works well | Swap one or two students, not the whole chart |
| New student joins | Add them to a group with a friendly, confident peer |