Traffic Light Noise Level for Your Classroom
Set clear visual indicators for volume and transitions. Help students manage themselves without constant verbal directions.
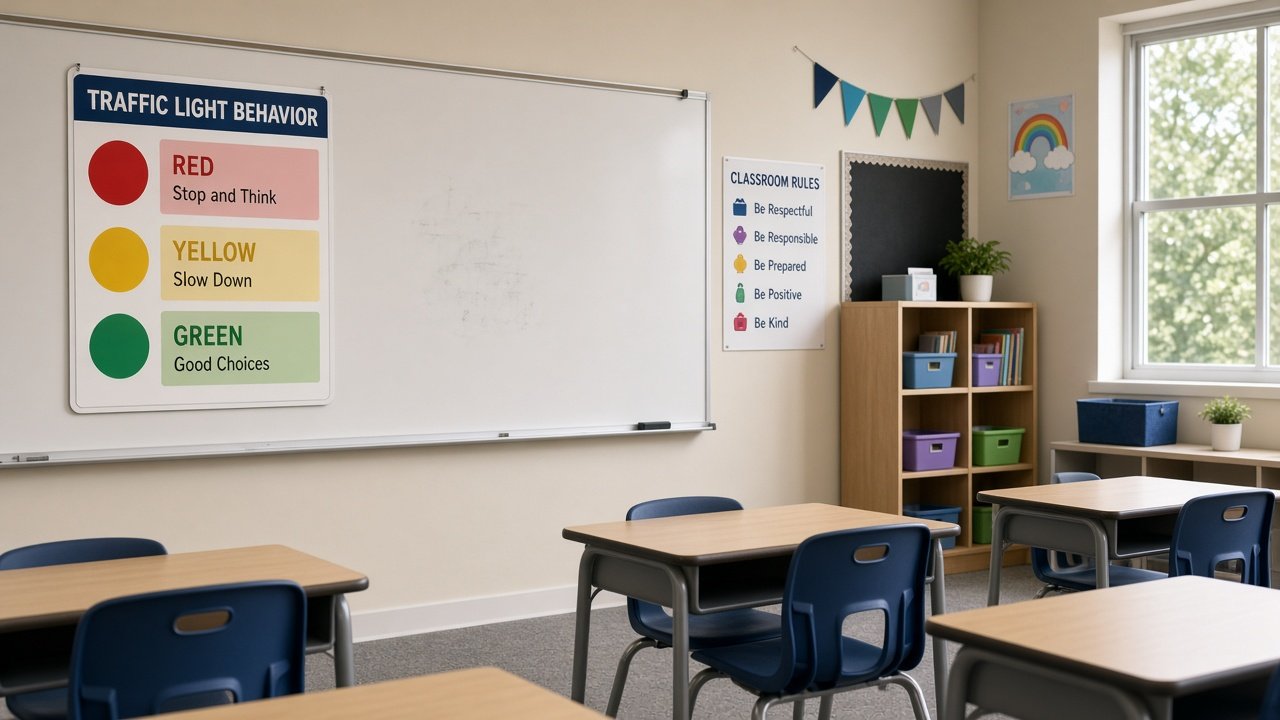
A traffic light noise level display gives your class one glanceable rule: green for work talk, yellow for whisper, red for silence. MyClassScreen's free classroom traffic light sits on your projected board next to a timer or noise meter — click to change colors instead of repeating verbal reminders. No signup required; open it in any browser and project.
A signal students can read from across the room
Verbal reminders wear thin fast. "Inside voices." "Eyes up here." "I need silence in five, four, three..." By second period you are already tired of hearing your own voice. Students tune out not because they are disrespectful — they are just used to the background noise of teacher corrections.
A classroom traffic light gives you a non-verbal way to set expectations. Red, yellow, green — kids learn the code quickly because the colors are familiar and the light stays on the board where everyone can see it. You click to change states instead of stopping instruction to shush the room.
Paper traffic lights taped to the wall work for a while, but you still have to walk over and flip them. A projected widget sits next to your timer and daily agenda. One click from your desk, or from the board if you are teaching from the front. The whole room updates at once.
Defining green, yellow, and red for your class
Keep definitions simple at first. My default: green means table talk at a normal volume, yellow means whisper or partner voice only, red means no talking — pencils moving, eyes on work. Post the chart for the first week or review after breaks when routines slip.
You can repurpose the colors for other signals once students know the format. Green for "keep working," yellow for "finish your current sentence and look up," red for "stop and listen." The traffic light becomes a general attention tool, not just a volume chart.
Consistency beats creativity here. If green means something different every hour, kids stop checking the light. Pick one voice chart for the first month. Adjust only when the class clearly understands the baseline.
Pair with a noise meter for rules plus feedback
The traffic light tells students what volume you want. The noise meter shows whether they are hitting it. Set the light to yellow and watch the bar — if names stay in green on the meter while the light is yellow, sensitivity might need adjusting or students need a clearer whisper demo.
During independent reading I run red on the light and tight meter settings. During group work I flip to green and loosen the threshold. The two widgets together cut down on debates about whether the room was "actually loud" because both the rule and the reading were visible.
Transitions without the chaos spike
Pack-up time is when volume explodes. Chairs scrape, friends compare weekend plans, someone drops a binder. Switch to yellow when you announce transition, then red for the last thirty seconds before the bell or before you give directions for the next activity. Students learn that red during a transition means mouths closed and bodies moving toward the next step.
Combine with the classroom timer for structured cleanup — three minutes on the clock, yellow until the last thirty seconds, then red. Predictable beats surprising every time.
After assemblies or fire drills, reset explicitly. "We are on green for partner talk." Kids coming back from unstructured hallway time need the cue more than usual. One click re-establishes the norm without a lecture.
What to expect the first week
Some classes test the system immediately — volume creeps up to see if you notice. Point to the light, wait, do not talk over them. The visual does the work once they believe you will use it consistently.
Younger grades may need hand signals alongside the colors for the first few days. Older students usually prefer a brief explanation and then minimal commentary. Either way, praise compliance when you see it — "table four saw yellow and adjusted" lands better than only calling out violations.
Save your board layout once the traffic light sits where you want it. Morning routine becomes open board, confirm the light matches the first activity, teach. For more classroom management ideas, browse our classroom management tools roundup.
Adapting the traffic light by grade level
Kindergarten and first grade: tie colors to simple actions. Green — talking to your neighbor about the picture. Yellow — whisper. Red — hands in lap, eyes on me. Use exaggerated modeling the first few times you switch colors.
Upper elementary: students can handle dual meanings if you teach them. Same light, different activity, different chart on the whiteboard for the day. Write "Green = partner read" during literacy and change it to "Green = table discussion" for science without changing the widget itself.
Middle and high school: keep explanations brief. They will roll eyes at anything that feels babyish, so frame the light as a status indicator for the room, not a behavior chart for individuals. Works especially well during lab days when volume should rise during setup and drop during instructions.
Specialists rotating between rooms can save one layout per building or grade band. Click green before each new class walks in so the signal is already set when the door opens. Small habit, fewer first-minute corrections.
Co-teachers and paraprofessionals appreciate a shared visual too. When you step to the back to confer with one student, the light still tells the room what to do. Your partner can click yellow without interrupting the small group you are running.
Think of the traffic light as one piece of a predictable classroom environment — same as posting the schedule, same as starting with a timer visible. Students spend less mental energy guessing what you want and more on the actual learning task in front of them.
Popular ways to use the traffic light
Noise Level Cues
Red for silence, yellow for whisper, green for normal talking voice — one glance replaces repeated shushing.
Activity Stages
Red means freeze and listen. Yellow means clean up. Green means begin the next task.
Student Pacing Indicators
Green means on track, yellow means check in with the teacher, red means stuck and need help now.
Self-Regulation Habits
Students glance at the projector to check expectations instead of waiting for you to correct them.
How to set up the traffic light
- 1 Open MyClassScreen and add the Traffic Light widget to your classroom board.
- 2 Drag it near your timer, agenda, or noise meter so students know where to look.
- 3 Introduce green, yellow, and red meanings on the first day — write them on the board if helpful.
- 4 Click the widget to switch colors when activities or volume expectations change.
- 5 Use the light as your primary cue instead of repeating verbal reminders.
- 6 Save the board layout so the traffic light is ready every morning.
Build your non-verbal classroom setup
Use the traffic light alongside a noise meter and timer for a board that handles volume and pacing without constant talking.
Start Managing Free